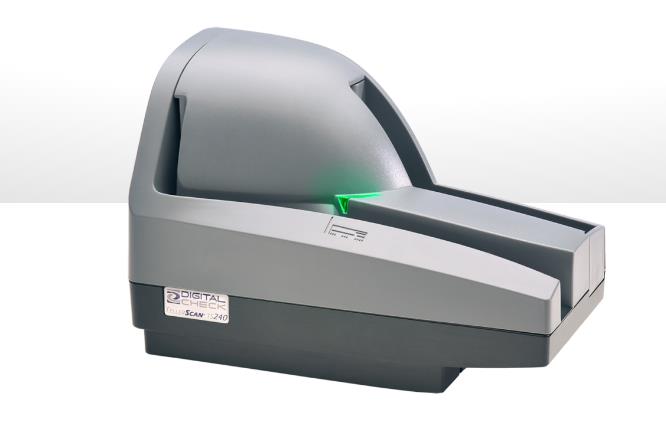
يعد الحفاظ على نظافة الماسح الضوئي للشيكات ووظيفته أمرًا بالغ الأهمية لضمان معالجة الشيكات بدقة وكفاءة. One effective method for cleaning a check scanner is by using a cleaning card. في هذا بلوق وظيفة, we will guide you through the step-by-step process of cleaning your check scanner using a cleaning card, enabling you to keep your equipment in optimal condition.
خطوة 1: Gather the necessary supplies
Before you begin cleaning your check scanner, ensure you have the following supplies ready:
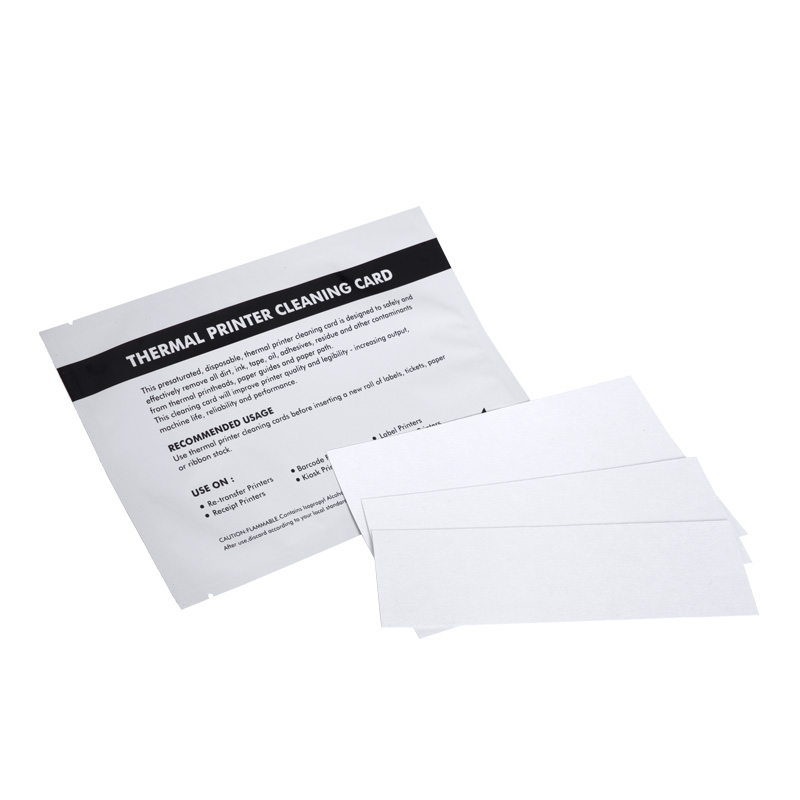
- Cleaning card specifically designed for check scanners.
- Isopropyl alcohol solution (preferably 99% concentration).
- Lint-free cloth or cleaning swabs.
- قفازات (optional but recommended).
خطوة 2: Power off and unplug the scanner
To avoid any potential damage or accidents, it is essential to turn off and unplug the check scanner before starting the cleaning process. This step ensures your safety and prevents any electrical mishaps.
خطوة 3: Prepare the cleaning card
Take the cleaning card designed for check scanners and inspect it for any visible dirt or debris. If necessary, gently wipe off any loose particles using a lint-free cloth or cleaning swab. Ensure the card is clean and ready for use.
خطوة 4: Apply the cleaning solution
Dampen the cleaning card with a small amount of isopropyl alcohol solution. Avoid using excessive liquid, as it may damage the scanner. The alcohol acts as a solvent, effectively removing dirt, ink, and residue from the scanner’s components.
خطوة 5: أدخل بطاقة التنظيف
Carefully insert the damp cleaning card into the check scanner’s document feed path. Follow the manufacturer’s instructions to ensure you insert it correctly. The cleaning card is designed to mimic the size and thickness of a standard check, allowing it to clean the scanner’s sensitive areas effectively.
خطوة 6: Initiate the cleaning process
بمجرد إدخال بطاقة التنظيف بشكل صحيح, power on the scanner and initiate the cleaning cycle as per the manufacturer’s instructions. This process may vary depending on the scanner model, so consult the user manual if needed. The scanner will pull the cleaning card through its internal mechanisms, effectively removing any dirt or debris.
خطوة 7: Remove and discard the cleaning card
بعد انتهاء دورة التنظيف, carefully remove the cleaning card from the scanner and dispose of it properly. Avoid reusing the cleaning card, as it may not effectively clean the scanner if it has already been saturated with dirt or ink.
خطوة 8: Wipe down the scanner
Using a lint-free cloth or cleaning swabs lightly moistened with isopropyl alcohol, gently wipe down the external surfaces of the scanner. Pay extra attention to areas prone to dirt accumulation, such as the document feed path and rollers. Ensure that no excess liquid drips into the scanner.
خطوة 9: Let the scanner dry and reconnect
Allow the scanner to air dry for a few minutes to ensure any residual moisture evaporates. Once dry, reconnect the scanner to the power source and turn it on. Your check scanner should now be clean and ready for use.
Regularly cleaning your check scanner using a cleaning card is a simple yet effective way to maintain its performance and prolong its lifespan. By following the step-by-step process outlined in this blog post, you can ensure that your check scanner remains in optimal condition, enabling accurate and efficient check processing. Remember to consult your scanner’s user manual for specific instructions and recommendations from the manufacturer.