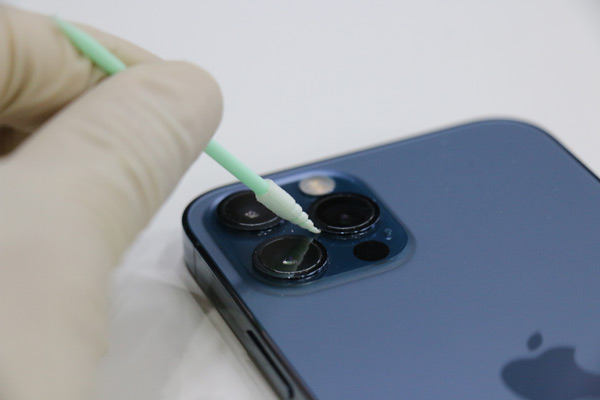
À l’ère numérique d’aujourd’hui, les smartphones font désormais partie intégrante de nos vies, nous accompagnant partout où nous allons. Avec une utilisation constante et une exposition à divers environnements, our phones often accumulate dirt, bacteria, and smudges on their surfaces. Regularly cleaning your phone not only keeps it looking pristine but also helps maintain its performance and longevity. Dans cet article, we will guide you through a step-by-step process on how to effectively clean your phone without causing any damage.
Étape 1: Power Off and Disconnect
Before cleaning your phone, it is crucial to power it off completely and unplug any charging cables or accessories. This ensures your safety and prevents any potential damage to the device.
Étape 2: Rassemblez les fournitures nécessaires
Before you start cleaning your phone, rassemblez les fournitures suivantes:
- Microfiber cloth
- Alcool isopropylique (70% concentration or higher), or isopropyl alcohol wipes
- Cleaning swabs
- Distilled water (For diluting the alcohol if needed)
- Compressed air canister (facultatif)
Étape 3: Essuyez l'extérieur
Using a microfiber cloth, gently wipe the exterior of your phone to remove any visible dirt, taches, or fingerprints. Ensure the cloth is clean and dry. Avoid using abrasive materials or paper towels, as they can potentially scratch the screen or damage the phone’s finish.
Étape 4: Clean the Screen
Dampen a corner of the microfiber cloth with a small amount of isopropyl alcohol. Gently wipe the screen in a circular motion, applying minimal pressure. Avoid excessive moisture, as it may seep into the phone’s openings. If the alcohol is too strong, dilute it with distilled water. Do not spray the solution directly onto the screen to prevent any liquid from entering the device.
Étape 5: Cleaning Ports and Openings
Use a dry cotton swab to clean the charging port, headphone jack, and speaker grills. If there is visible debris, use a compressed air canister to blow it out gently. Be cautious not to apply excessive pressure or insert the swab too deep, as it may damage the internal components.
Étape 6: Laissez-le sécher
Après le nettoyage, ensure your phone is completely dry before turning it back on or reattaching any accessories. This prevents any potential damage caused by residual moisture.
 Écouvillons en mousse pour salle blanche, Écouvillons en polyester, Fabricant de kits de nettoyage d'imprimante – MédiTech