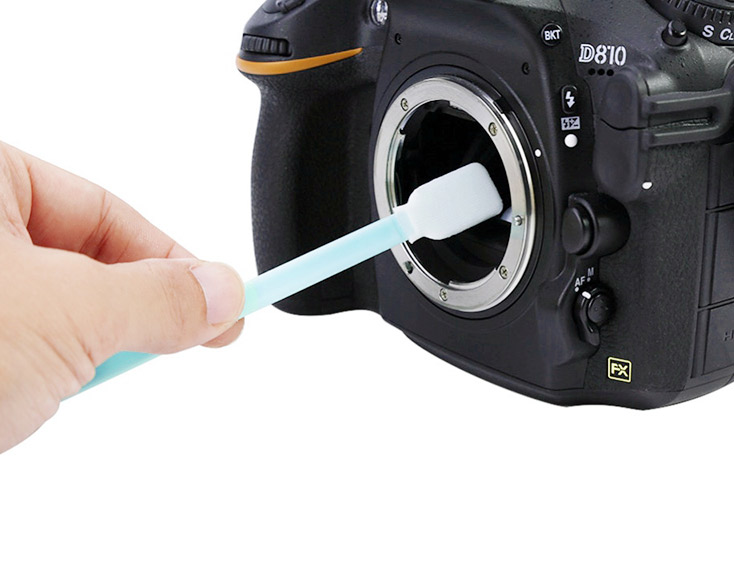
Keeping your camera sensor clean is essential for maintaining image quality. Dust and debris can ruin your shots, but using sensor cleaning swabs can help. Here’s a step-by-step guide to ensure your sensor stays spotless.

Understanding Camera Sensor Cleaning Swabs
Camera sensor cleaning swabs are specifically designed to gently clean the delicate surface of your camera’s sensor. They come in various sizes to match different sensor formats, such as full-frame or APS-C.
When to Clean Your Sensor
You’ll know it’s time to clean your sensor if you notice spots or marks on your images, especially when shooting at smaller apertures. Regular maintenance can prevent these issues.
Preparing for Sensor Cleaning
Before you begin, ensure you have the right tools:
- Camera sensor cleaning swabs
- Sensor cleaning solution
- A clean, dust-free environment
- Fully charged camera battery
Step 1: Set Up Your Camera
Place your camera on a stable surface. Remove the lens and activate the sensor cleaning mode if available. This locks up the mirror and opens the shutter for access to the sensor.
Step 2: Apply Cleaning Solution
Take a sensor swab and apply a few drops of the sensor cleaning solution. Ensure the swab is evenly moistened, but not soaked.
Step 3: Clean the Sensor
Gently swipe the swab across the sensor in one smooth motion. Use one side of the swab for the first pass and the other side for a second pass if necessary.
Step 4: Inspect for Remaining Debris
After cleaning, visually inspect the sensor for any remaining spots. If needed, repeat the cleaning process with a fresh swab.
Tips for Effective Sensor Cleaning
- Always use the right size swab for your sensor.
- Avoid applying excessive pressure.
- Store your camera in a clean, dry place to minimize dust accumulation.
 Cleanroom Foam Swabs, Polyester Swabs, Printer Cleaning Kit Manufacturer – MediTech