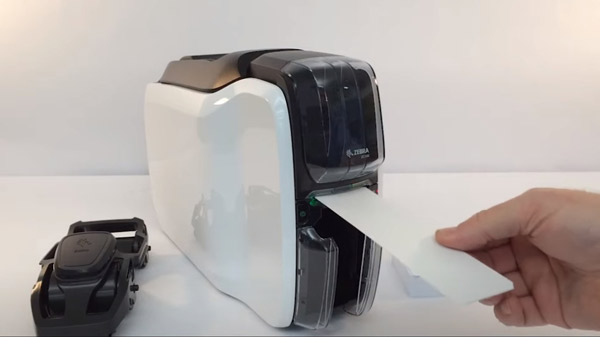
The Zebra ZC300 is a high-quality card printer known for its reliability and superior print output. To maintain the optimal performance of your ZC300, regelbunden rengöring är viktigt. Cleaning the printer with cleaning cards not only removes dirt and debris but also ensures consistent print quality and extends the lifespan of your device. In this step-by-step guide, we will walk you through the process of cleaning your Zebra ZC300 using städkort.

Steg 1: Gather the Required Materials
Before you begin cleaning your Zebra ZC300, gather the necessary materials:
- Zebra cleaning cards (compatible with ZC300)
- Isopropyl alcohol cleaning solution
- Lint-free cleaning swabs (cleanroom swab)
- Soft, luddfri trasa
Steg 2: Power Off the Printer
Before handling any components of the printer, it is crucial to turn it off and unplug it from the power source. This ensures your safety and prevents any accidental damage during the cleaning process.
Steg 3: Open the Printer Cover
Locate the printer cover, usually situated on the top or front of the ZC300. Gently open the cover to gain access to the internal components.
Steg 4: Remove the Ribbon and Cards
To clean the printer effectively, remove the ribbon and any cards present in the input/output hoppers. Set them aside in a clean and safe location to avoid contamination or damage.
Steg 5: Insert the Cleaning Card
Take a Zebra cleaning card and carefully insert it into the input hopper of the ZC300. Ensure that the card is properly aligned and inserted as per the printer’s instructions.
Steg 6: Run the Cleaning Cycle
Follow the printer’s user manual to initiate the cleaning cycle. This process varies depending on the specific model and firmware version. Typically, you will need to access the printer’s control panel or software interface to start the cleaning cycle.
Steg 7: Rengör skrivhuvudet
While the cleaning card is being processed through the printer, it’s an ideal time to clean the printhead. Moisten a lint-free cleaning swab with the isopropyl alcohol cleaning solution. Gently clean the printhead surface, applying minimal pressure to avoid damage. Ensure that the printhead is dry before proceeding to the next step.
Steg 8: Repeat the Cleaning Process
For optimal results, it is recommended to run the cleaning cycle multiple times. This helps to remove any stubborn residue or contaminants that may be present in the printer’s internal components.
Steg 9: Clean the Card Path Rollers
To clean the card path rollers, take a fresh cleaning card and moisten it with the isopropyl alcohol cleaning solution. Insert the cleaning card into the input hopper and allow it to pass through the card path. This process effectively cleans the rollers and ensures smooth card movement during printing.
Steg 10: Wipe the Exterior Surfaces
Using a soft, luddfri trasa, gently wipe the exterior surfaces of the Zebra ZC300. This includes the printer cover, input/output hoppers, and any visible areas prone to dust or dirt accumulation. Avoid using abrasive materials or excess moisture during this step.
Steg 11: Reassemble and Power On
Once you have completed the cleaning process, reassemble the ZC300 by inserting the ribbon and any cards back into their respective slots. Close the printer cover securely. Plug in the power cord and turn on the printer.
 Renrumsskumservetter, Poddar av polyester, Tillverkare av skrivarrengöringssats – MediTech